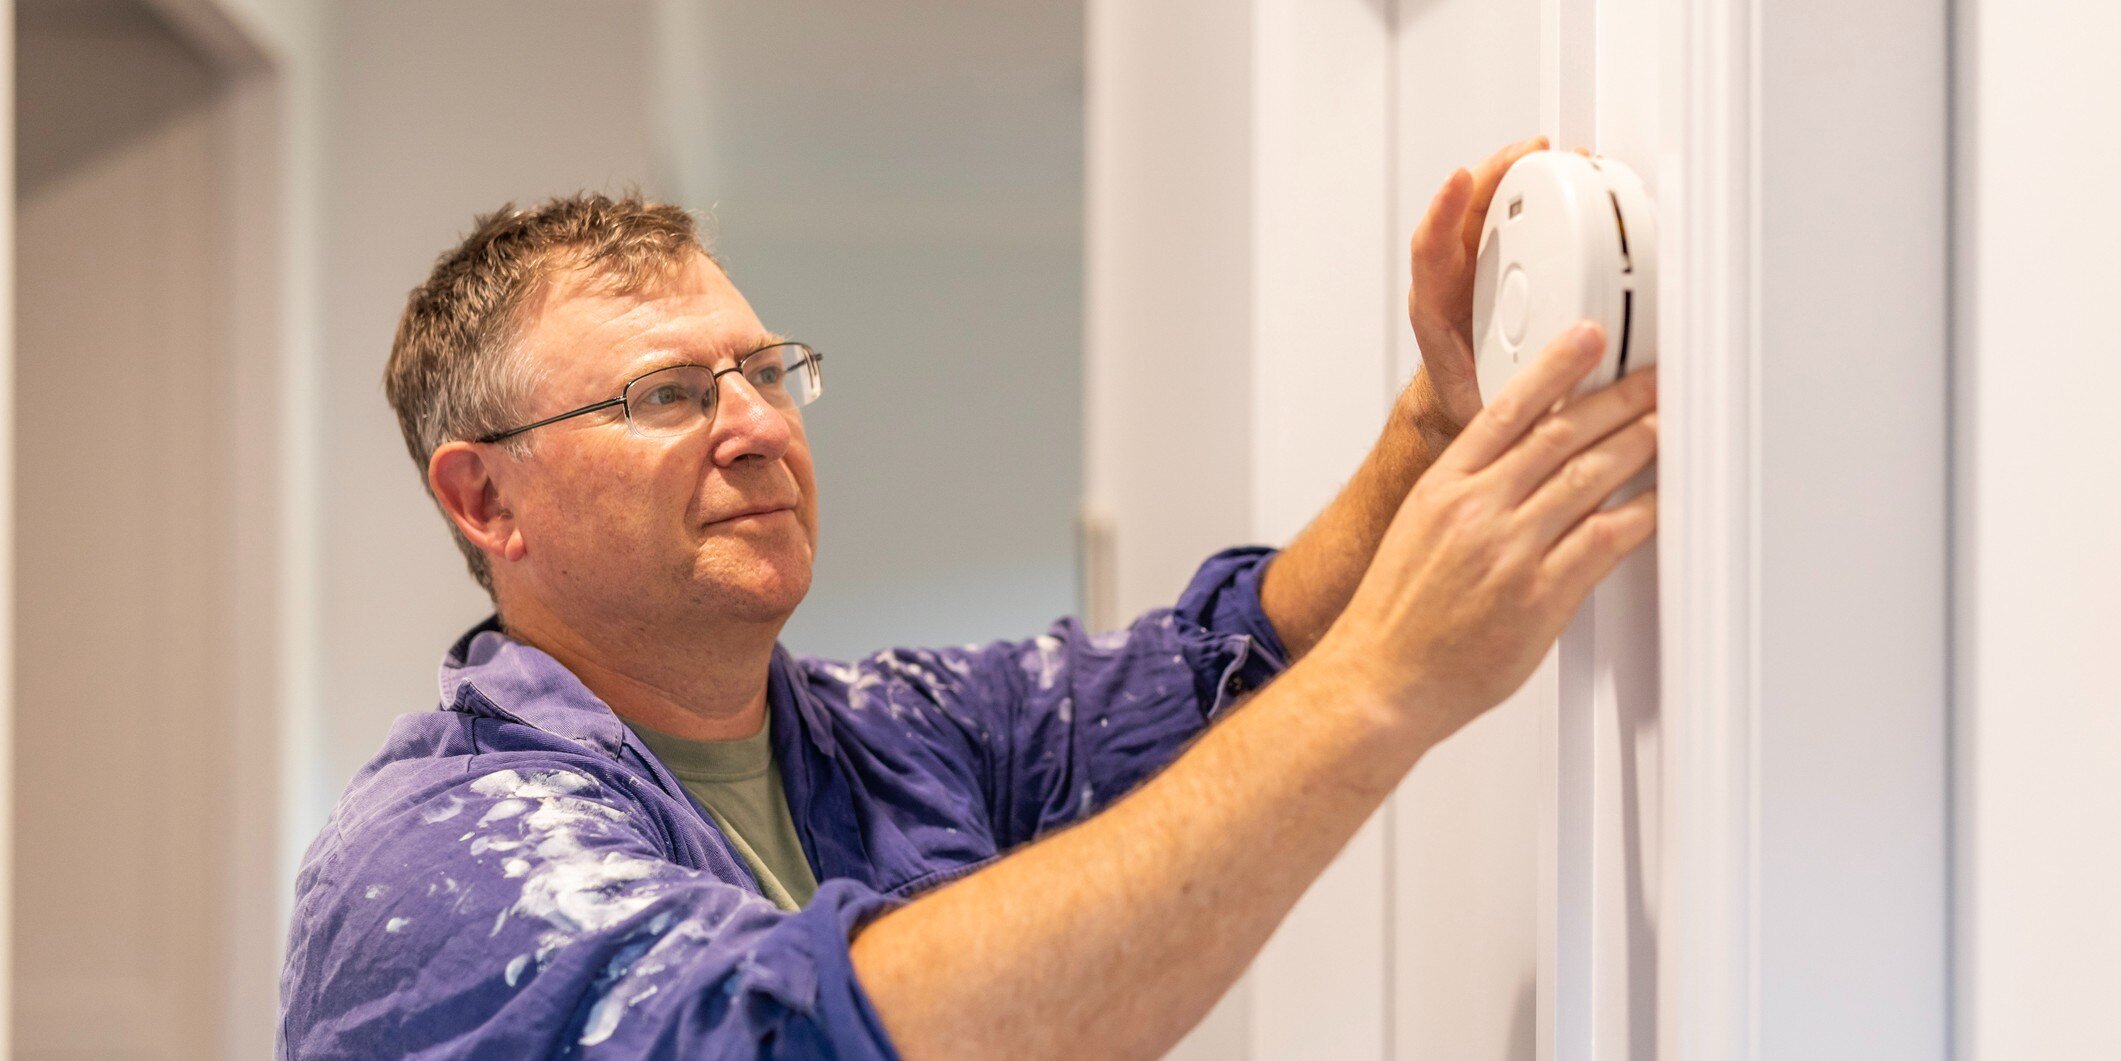
When a housing unit becomes vacant, a well-documented cleanout procedure is essential to guide maintenance workers or third-party contractors through standardized unit preparation for the next occupant. Proper documentation ensures a comprehensive record of tenant discussions and the steps taken to ready the unit for the incoming tenant.
In this guide, we unveil essential tips and strategies for achieving a seamless and efficient property turnover.
Step 1: Conduct a pre-move-out unit inspection
Initiating the cleanout process is best done by scheduling a pre-move-out inspection with the departing resident, if possible. This inspection serves as an opportunity to discuss the unit's condition and the resident’s move-out responsibilities as outlined in their lease agreement.
Residents are typically responsible for cleaning and returning the unit in a reasonably clean and well-maintained condition. This includes removing personal belongings, cleaning appliances, and ensuring that the unit is free from excessive dirt or damage.
Keeping photographic evidence of the unit's pre- and post-vacancy condition is crucial for record-keeping and can be invaluable in resolving disputes or addressing additional charges.
During the pre-move-out inspection, discuss the key return process with the departing tenant. Clearly communicate expectations regarding the return of all keys, including duplicates, and any access devices.
Step 2: Address unit repairs
Any maintenance or repairs identified during the pre-move-out inspection should be scheduled promptly, either through in-house maintenance teams or third-party contractors.
Repairs to be completed before turnover to a new tenant include:
-
Patch and repair any holes in the drywall.
-
Repair or replace loose flooring or carpeting.
-
Paint interior walls.
-
Clean, repair, or replace all agency-provided appliances.
-
Inspect plumbing fixtures for leaks and verify their operation.
-
Check all electrical outlets, circuits, and switches.
-
Verify the working condition of fire protection equipment, smoke detectors, and carbon monoxide detectors (all HUD-assisted units must have carbon monoxide (CO) detectors or alarms installed).
-
Confirm the working condition of emergency pull cords, if present.
Check door locks and deadbolts to ensure proper security features, with re-keying recommended before a new occupant moves in. This ensures that the previous tenant's keys are no longer valid, enhancing the unit's security. Re-keying is particularly crucial if there is any uncertainty about the number of copies of keys in circulation or if there are concerns about unauthorized access.
It’s generally advisable to address repairs before deep cleaning a housing unit. Repairing structural or cosmetic issues before cleaning ensures that the cleaning process is more effective and that the unit is in optimal condition for the new occupant.
Step 3: Perform a deep cleaning
Depending on the unit's condition, meticulous and thorough cleaning is vital to prepare it for the next occupant. Essential cleaning materials include:
- Microfiber cloths
- Sponges or paper towels
- Disinfectant wipes
- Rubber gloves
- Trash bags
- All-purpose cleaner
- Glass cleaner
- Fume-free oven cleaner
- Toilet cleaner
- Scrub brushes
- Broom with dustpan, mop, and vacuum.
Step 4: Final inspection, documentation, and turnover
Conduct a final inspection of the unit to ensure all cleaning and repairs are completed to the established standards.
It’s imperative to document all the work completed and the unit's condition (e.g., photographs, inspection reports, repair invoices, and any communication with the departing resident). This documentation is a valuable resource for any issues with the new resident. Retain all documentation related to the cleanout process in an organized and secure manner.
If a new tenant has been identified, communicate with them regarding move-in details, key pickup, and any necessary orientation about the property, emergency procedures, community rules, and contact information for property management.
By diligently completing these steps, property managers can ensure a smooth transition between tenants, maintain accurate records, and uphold the standards of the property. This thorough approach contributes to tenant satisfaction and helps mitigate potential issues.
Property managers are encouraged to contact their HAI Group risk control consultant for further information or recommendations.
This article is for general information only. HAI Group makes no representation or warranty about the accuracy or applicability of this information for any particular use or circumstance. Your use of this information is at your own discretion and risk. HAI Group and any author or contributor identified herein assume no responsibility for your use of this information. You should consult with your attorney or subject matter advisor before adopting any risk management strategy or policy.


.png?width=397&height=397&name=Brown%20and%20Cream%20Minimalist%20Todays%20Tips%20Instagram%20Post%20(1).png)

.png)

